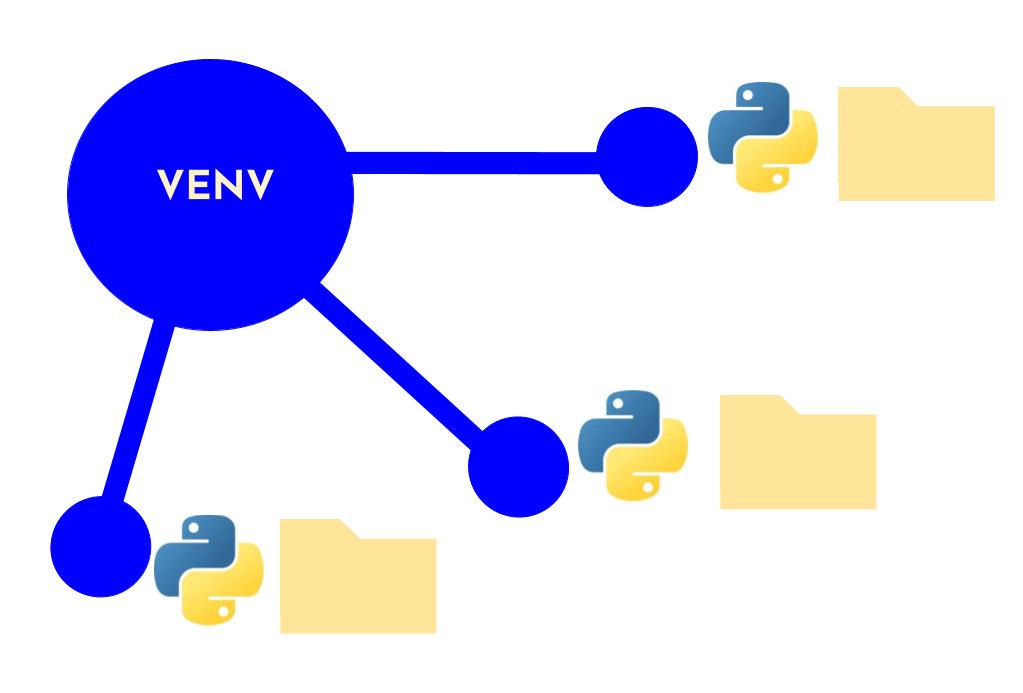
In Python development, managing dependencies and package versions can quickly become complex and error-prone, especially when working on multiple projects at once. Trust me, I learned this from experience! When I worked on mainly small, isolated, individual personal and academic projects during college, I was able to scrape by. But when I transitioned to collaborating on group academic projects as well as team-based projects at my current job, virtual environments become invaluable. In this blog post, I’ll talk about explore what virtual environments are, why they’re essential, and how to create and use them.
What Is It?
A virtual environment (venv) is a self-contained directory that contains a specific Python interpreter and a set of installed packages. It allows you to maintain isolated environments for each project, ensuring that dependencies and package versions don’t conflict across projects. Essentially, venv lets you install packages in your project directory rather than globally on your operating system.
“Why is this important?”, you may ask. Well, when you’re working on multiple Python projects, each might require different versions of external packages. Installing packages globally can lead to compatibility issues between projects. Virtual environments solve this problem by allowing each project to have its own set of installed packages, independent of what’s installed globally or in other environments.
How to Create/Activate
Creating a virtual environment is straightforward and can be done using Python’s built-in venv module. Here’s how:
1. Navigate to your project root directory
You’ll want to add the .venv directory to your .gitignore file to avoid committing it to your repository.
2. Create the virtual environment
You can create the virtual environment with
python -m venv .venvDepending on what Python version you have (and whether you’re using a Python version management tool like pyenv), you may need to use python3 instead of python in the command above.
The .venv directory will be created in your project root, containing a local Python interpreter and its site-packages. You could also choose to call it something other than .venv.
3. Activate the virtual environment
For Mac/Linux:
source .venv/bin/activateFor Windows:
.venv\Scripts\activateYou’ll notice that the virtual environment is active in your directory because you’ll see (.venv) in your terminal prompt, something like
(.venv) user@machine:~/project-directory-name$Don’t forget that if you called it something other than .venv, you’ll need to change the activation command to reflect the correct directory name.
4. Deactivate the virtual environment:
To deactivate the environment when you’re done, just run
deactivateA Note on requirements.txt:
While the method I described is a straightforward example, it is not the best way to manage and share dependencies. Modern Python projects usually use a configuration file called pyproject.toml for more flexible and maintainable dependency management, which allows for better version control, environment isolation, and easier management of development vs. production dependencies.
Saving/Sharing Dependencies
Another reason virtual environments are great for collaboration and deployment is it helps with consistency and reproducibility. Let’s say you’re working on a project locally but want your group project partner to be able to clone your repository and run the same code form their own machine. How will they know all the packages you’ve downloaded, and what versions?
Well, I’ll give you one way you can handle this. Once you’ve installed the packages your project needs within your venv, you can save them to a requirements.txt file. This file can be shared with your project partner, such as by committing it to a shared repository.
To save the current environment’s dependencies, run (from an activated venv):
pip freeze > requirements.txtWhen someone else wants to set up the same environment, they can clone the repository to get the code, then activate a new venv on their machine, and run:
pip install -r requirements.txtWithout a virtual environment, it would be difficult to tell which packages and versions are needed for that specific project, as it might be cluttered with global packages from other projects. venv provides simplicity!
Don’t forget that you may need to replace pip with pip3 in the above commands if that doesn’t work. Additionally, you probably should already have pip installed, but if you’re still having trouble, you can read this GeeksforGeeks article to go a couple steps back.
What Should I Have Installed Globally?
By global environment, I’m talking about the default Python environment that is installed on your operating system and accessible system-wide. This environment is shared across all Python projects on your system unless you’re using a virtual environment. It’s recommended to keep your global Python environment clean, meaning you shouldn’t have project-specific packages installed globally. Ideally, the only packages you should have installed globally are the most recent versions of pip and setuptools.
You can check the list of globally installed packages using:
pip list(or pip3 list).
You can compare this list to your project-specific packages installed within a virtual environment by running the same command in your activated venv.
What about pipenv, virtualenv, etc.?
While venv is built into Python and is sufficient for using virtual environments, there are several other tools that can help create and manage them. I prefer venv, but feel free to browse through and try popular alternatives:
- virtualenv
- conda
- Poetry
- pipenv
Some of these tools offer other great features for more complex dependency management.
Conclusion
Using virtual environments is a best practice in Python development. They help you to avoid dependency conflicts and keep projects isolated from one another. It’s especially helpful if you’re working on multiple projects at once and/or collaborating with multiple people.
By following the steps I outlined above, you can easily create and manage virtual environments with venv, making your development process smoother and more efficient.


Leave a Reply
You must be logged in to post a comment.